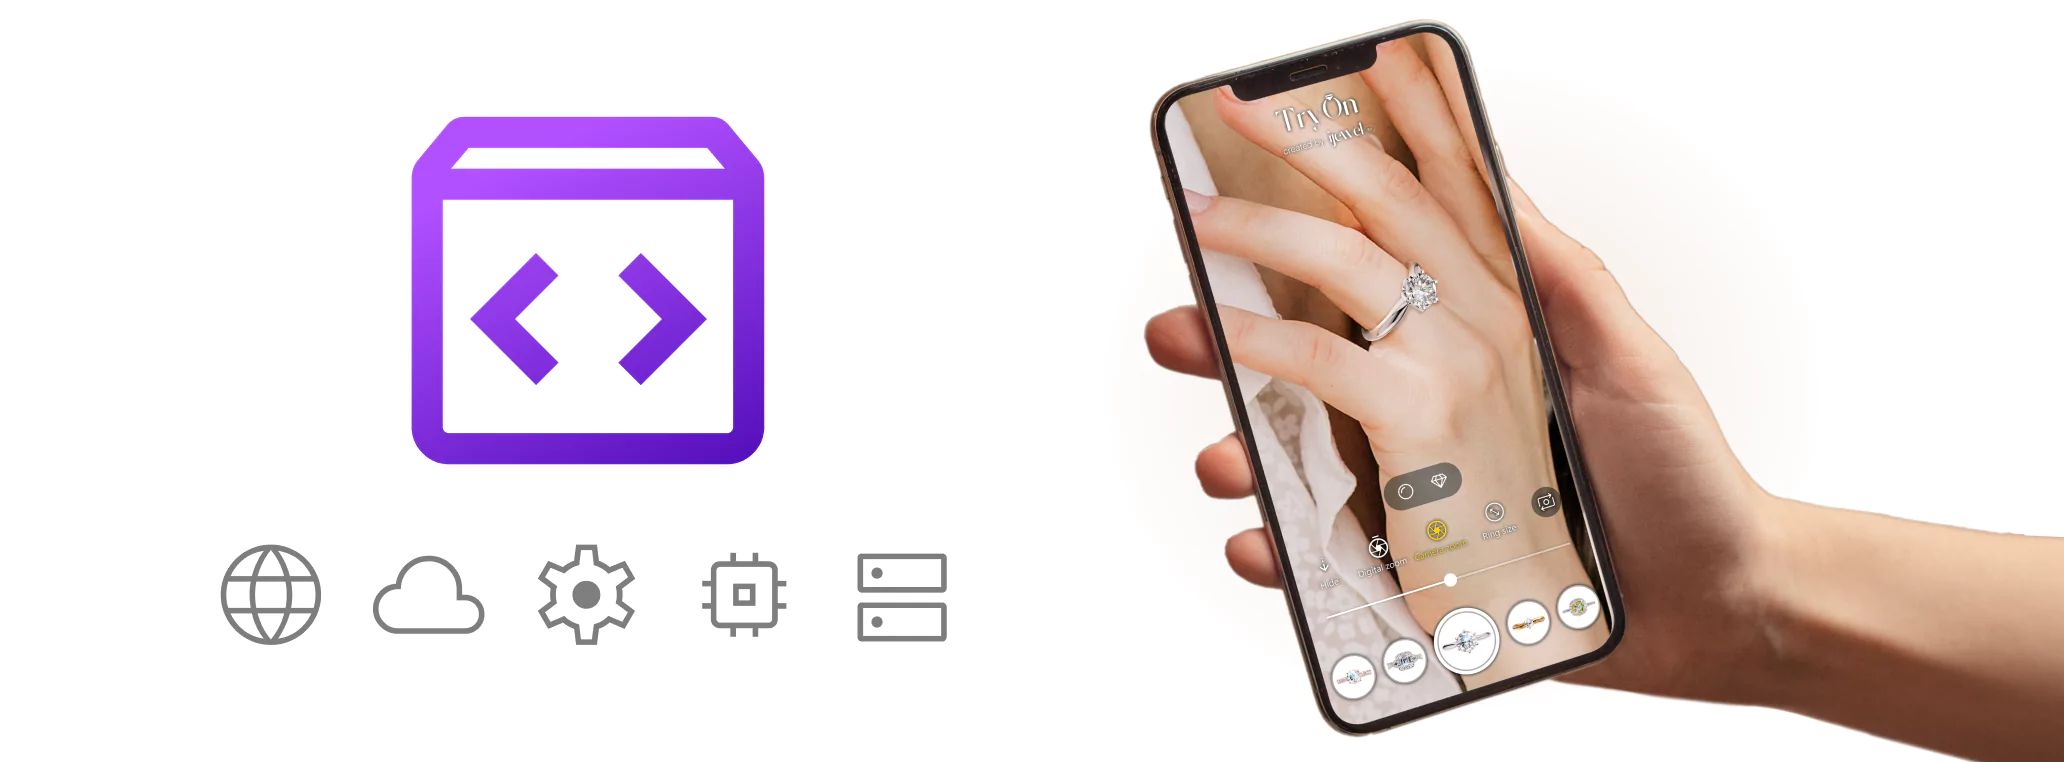
Ring TryOn Demo and Usage

Virtual TryOn is part of the ij_vto javascript package. It allows you to create a virtual try-on experience for your customers. The module requires the iJewel3D SDK(WebGi).
Here's a very basic demo with the webgi instance and the tryon module. It's designed in a way that the user can look at the 3d model in a normal turn-table view, and then press the AR button to start the camera and try the ring on their finger.
TIP
You can download the source code of the above demo from the HTML link (its not minified)
view-source:https://releases.ijewel3d.com/libs/web-vto/0.0.17/demo.html
Let's have a look at getting a demo AR application ready with custom 3D Models.
Get Started
Include Packages
To get started, first include the javascript bundles for both webgi and ij_vto in your HTML file.
  <script src="https://releases.ijewel3d.com/webgi/runtime/bundle-0.9.14.js"> </script>
  <script>window.webgi = window;</script> <!-- Required for ij_vto to work(for now) -->
  <script src="https://releases.ijewel3d.com/libs/web-vto/0.0.17/ij_vto.js"> </script>
INFO
We regularly update the version numbers of the packages. Make sure to check the latest version back on this page to update.
Add HTML
Next, we need to add a container and a canvas for 3d rendering into the HTML page. Along with a button to Start the AR mode and flip camera(on mobile).
<div id="canvas-container" style="position: relative">
    <div id="header-text">iJewel Realtime Tryon</div>
    <canvas id="webgi-canvas" style="position: absolute; height: 100%; width: 100%"></canvas>
</div>
<button id="start-ar">Start AR</button>
<button id="flip-camera">Flip Camera</button>
<button id="save-image">Save Image</button>
::: note The webgi-canvas is where the 3D model will be rendered. The canvas has to be configured with width and height to fill the container, and should not be changed. To resize the canvas, resize the container div, which can be done normally with either CSS or JS. :::
Initialize webgi and load models
Once the modules and html is added, we can create a viewer, add the relevant plugins and give an option for the user to start AR.
// Initialize the viewer
const viewer = new ViewerApp({
    canvas: document.getElementById("webgi-canvas")
});
viewer.renderer.displayCanvasScaling = 2;

// add and setup all necessary plugins
await addBasePlugins(viewer, {interactionPrompt: false});
const diamondPlugin = await viewer.addPlugin(DiamondPlugin);
diamondPlugin.setKey('LICENSE_KEY_FOR_IJEWEL_SDK')

// Add the Ring TryOn Plugin
// plugin needs to be included from ij_vto, as its separate from webgi.
const tryon = await viewer.addPlugin(ij_vto.RingTryonPlugin);
tryon.setKey('LICENSE_KEY_FOR_TRYON_SDK')
Importing webgi using CDN/NPM
When importing webgi through CDN or via NPM package, we need to import the ij_vto module separately and tell it how webgi is imported.
When webgi is imported with cdn, add this before loading ij_vto script:
<script>window.webgi = window;</script>When webgi is imported with npm, add this before loading ij_vto script:
import * as webgi from "webgi";
window.webgi = webgi;
Load a model, setting and optionally an envmap/vjson(if not present in the model).
Each model will also require an accompanying JSON file that specifies all the TryOn plugin settings. This can be created in the edit model of the plugin. Check the Edit Mode section below for more details.
await viewer.setEnvironmentMap("https://playground.ijewel3d.com/assets/lightmaps/gem/gem-2.exr");
await viewer.load("https://www.example.com/model.glb")
await viewer.load("https://www.example.com/model.glb.json")
Start AR
The AR mode cannot be started automatically on page load, as it requires user interaction to prompt access for the camera. We can add a button to start the AR mode. Before starting the AR mode (and after exiting it), the 3d viewer behaves like a normal 3d viewer, where user can interact with the mode etc. All the settings from the glb/vjson file are used in the preview.
To start/stop the AR mode, get an instance of the plugin, and call the start/stop methods. (Make sure the plugin was added in the beginning)
const tryon = viewer.getPlugin(RingTryonPlugin);
// to start. This will prompt the user for camera access
tryon.start();
// to stop
tryon.stop();
Sample for setting up the buttons to start and flip cameras:
const startAr = controls.querySelector('#start-ar')
const flipCamera = controls.querySelector('#flip-camera')
const saveImage = controls.querySelector('#save-image')
startAr.style.display = 'block'
flipCamera.style.display = 'none'
saveImage.style.display = 'none'
startAr.onclick = ()=>{
    !tryon.running && tryon.start()
    startAr.style.display = 'none'
    flipCamera.style.display = 'block'
    saveImage.style.display = 'block'
}
flipCamera.onclick = ()=>tryon.flipCamera()
saveImage.onclick = ()=>tryon.saveImage()
TIP
Add a interactive browser console like eruda for easy debugging and testing on mobile devices.
Simply add this to your HTML to setup the console.
<script>
;(function () {
    var src = '//cdn.jsdelivr.net/npm/eruda';
    if (!/debug/.test(window.location) && localStorage.getItem('active-eruda') != 'true') return;
    document.write('<scr' + 'ipt src="' + src + '"></scr' + 'ipt>');
    document.write('<scr' + 'ipt>eruda.init();</scr' + 'ipt>');
})();
</script>
Edit Mode
Video tutorial for setting up the model.
The Ring TryOn plugin has an edit mode that allows you to configure the plugin settings for each model.
This includes the position, scale, rotation, and other settings for the model that are required to place it properly on the finger of the user.
To access the edit mode, simply add ?edit to the end of the demo script - https://releases.ijewel3d.com/libs/web-vto/0.0.17/demo.html?edit
The edit mode will show a UI with all the settings that can be configured for the model.
First drag and drop a 3d file that has been configured with ijewel3d editor (or a vjson).
Open the Ring TryOn folder and click on enterSetupMode button. This will show a cylinder for the finger and a plane for the center-line. Now the parameters - modelRotation, modelScale and modelPosition can be adjusted in the UI to fit the model on the finger and center it on the plane.
Once you are happy with the settings, download the JSON file by clicking on the three dots at the top right corner of the folder. This JSON file can now be loaded along with the model in your AR application. The setting done here will be used when the user enters AR, and the default settings in glb/vjson will be used when previewing in normal 3d view outside AR.
TIP
If all the 3d files in the catalogue are consistent in size and position, you can use the same JSON file for all the models, or even generate the settings at runtime based on custom logic.