iJewel3D Drive Viewer SDK
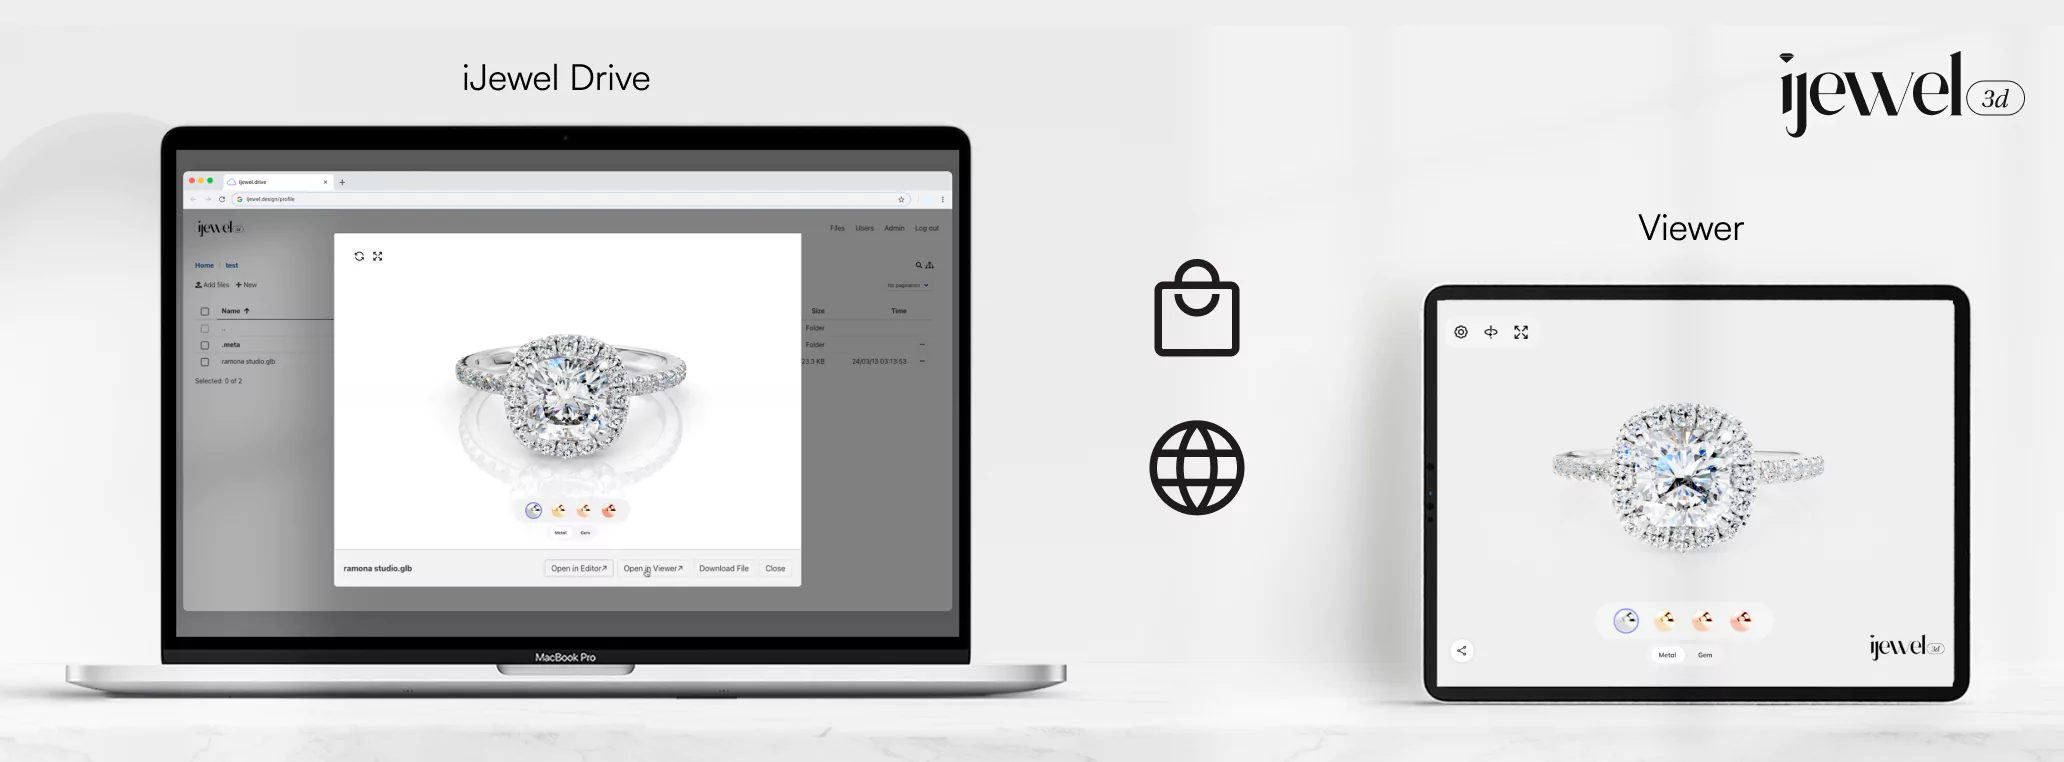
The iJewel Viewer library provides helper functions to simplify loading 3D models directly from your iJewel Drive instance into your web application. This allows you to manage your 3D assets centrally in the Drive and display them easily using unique identifiers.
Tutorial
Check out Embed iJewel3D Models on Your Website for a step-by-step guide on how to use these functions.
NOTE
iJewel Drive Embedding and SDK are currently in Open Beta.
Please let us know on our Discord or by email at [email protected] if you face any issues or would like to request any features.
Docs for old iJewel Drive
The documentation for iJewel Drive instances created before March 2025 is available here.
Loading a Specific Model by ID (loadModelById)
The primary function currently available for loading a single model directly from Drive is loadModelById. This is the recommended approach when you know the specific model file you want to display.
// Example: Load a model into a div with id="viewer-container"

// Ensure the viewer library script is loaded first
// <script src="https://releases.ijewel3d.com/libs/mini-viewer/0.3.20/bundle.iife.js"></script>

const driveBasename = 'drive'; // for enterprise clients contact us to get your basename, otherwise keep it unchanged
const modelFileId = 'xyz789abc123'; // Replace with the actual Model ID
const containerElement = document.getElementById('viewer-container');

ijewelViewer.loadModelById(
  modelFileId,
  driveBasename,
  containerElement,
  { // Optional ViewerOptions
    showCard: true,
    showLogo: true,
    // Add other options as needed
  }
);

// Optional: Listen for the ready event
window.addEventListener("ijewel-viewer-ready", (event) => {
  console.log("Viewer is ready:", event.detail.viewer);
  const viewerInstance = event.detail.viewer;
  // You can interact with the viewer instance here
});
Parameters
| Parameter | Type | Required | Description |
|---|---|---|---|
modelId | string | Yes | The unique File ID of the 3D model file within your Drive. |
basename | string | Yes | The unique identifier for your iJewel Drive instance (e.g., 'yourcompany-drive'). Defaults to 'drive'. You don't need to change this one unless you are an enterprise client. Contact support if you don't know yours. |
container | HTMLElement | Yes | The HTML element where the viewer canvas will be rendered. |
options | ViewerOptions | No | An optional object containing viewer configuration options to customize appearance and behavior. See Viewer Class for details. |
Loading a Model by Name and Parent ID (loadModelByName)
This function allows you to load a model by specifying its exact filename and the ID of the parent folder it resides in within your iJewel Drive. The file doesn't have to be a direct child of the parent folder, it can also be nested inside it. This is useful when you know the folder structure but not the specific file ID.
NOTE
loadModelByName requires an authentication token. How you obtain this token depends on your application, please contact us for help.
// Example: Load a model named "ring_model.glb" from folder with ID "folder456"

// Ensure the viewer library script is loaded first
// <script src="https://releases.ijewel3d.com/libs/mini-viewer/0.3.20/bundle.iife.js"></script>

const modelName = 'ring_model.glb'; // Replace with the exact model filename
const parentFolderId = 'folder456'; // Replace with the ID of the parent folder
const driveBasename = 'drive'; // Or your enterprise basename
const authToken = 'YOUR_AUTHENTICATION_TOKEN'; // Replace with a valid token
const containerElement = document.getElementById('viewer-container');

const viewerInstance = await ijewelViewer.loadModelByName(
  modelName,
  parentFolderId,
  driveBasename,
  authToken,
  containerElement,
  { // Optional ViewerOptions
    showCard: true,
    // Add other options as needed
  }
);
Parameters (loadModelByName)
| Parameter | Type | Required | Description |
|---|---|---|---|
modelName | string | Yes | The exact filename of the 3D model within the specified parent folder in Drive. |
parentId | string | Yes | The unique ID of the parent folder containing the model file in Drive. |
basename | string | Yes | The unique identifier for your iJewel Drive instance (e.g., 'yourcompany-drive'). Defaults to 'drive'. You don't need to change this one unless you are an enterprise client. Contact support if you don't know yours. |
token | string | Yes | An authentication token required to interact with the iJewel Drive API to find the file. Contact us to help you with this. |
container | HTMLElement | Yes | The HTML element where the viewer canvas will be rendered. |
options | ViewerOptions | No | An optional object containing viewer configuration options to customize appearance and behavior. See Viewer Class for details. |
Cross-Origin Resource Sharing (CORS)
CORS is setup on the iJewel Drive to make sure only you can host the models on your domain.
When connecting to your iJewel Drive and loading models, you may encounter Cross-Origin Resource Sharing (CORS) errors in the console. These issues arise because your domain hadn't been whitelisted, please reach to us so we can configure our servers to allow CORS for your domain.
React (ViewerComponent)
A complete, runnable example project containing this component is available on GitHub: https://github.com/maanHimself/ijewel-viewer-react-example
1. Update package.json
Add the following lines to your dependencies:
{
  "dependencies": {
    // ... other dependencies
    "@ijewel3d/mini-viewer": "https://releases.ijewel3d.com/libs/web/ijewel3d-mini-viewer-0.3.20.tgz",
    "webgi": "https://releases.ijewel3d.com/webgi/runtime/bundle-0.10.5.tgz",
    "@types/webgi": "https://releases.ijewel3d.com/webgi/runtime/bundle-types-0.10.5.tgz"
  }
}
2. Install Dependencies
npm install3. Usage
Import the ViewerComponent from the library and use it in your React application. Provide the necessary props to load your model.
import { ViewerComponent } from "@ijewel3d/mini-viewer";
import { useEffect, useState } from "react";
import { Color, ViewerApp } from "webgi";

function App() {
  const [modelId,] = useState("Ep9bWZIlTSG6_8DH7QDc1w"); // Replace with your actual model ID
  const [viewer , setViewer] = useState<ViewerApp | null>(null);

  useEffect(() => {
    //optionally, you can use the viewer for further customization
    if (viewer) {
      // Example: Set background color
      viewer.scene.backgroundColor = new Color("#232721");
    }
  }, [viewer]);

  return (
    <div style={{ width: "100vw", height: "100vh" }}>

      <ViewerComponent
        modelId={modelId}
        onViewerReady={(v : ViewerApp) => setViewer(v)}
        viewerOptions={{
          showCard: false,
          //add other viewer options here
        }}
        basename="drive" //optional for enterprise users
      />

    </div>
  );
}
export default App;
Next.js
The viewer relies on window, WebGL, and other browser‑only APIs, therefore server‑side rendering (SSR) for the component must be disabled when using Next.js. The simplest way is to load it with next/dynamic:
"use client";
import dynamic from "next/dynamic";

// Dynamically import the Viewer component to avoid SSR issues
const ViewerComponent = dynamic(() => import("@ijewel3d/mini-viewer").then((mod) => mod.ViewerComponent), {
  ssr: false,
});

const myModelId = "ThWX3yXbSqygIcRbS2ODGw"; // Replace with your actual model ID

export default function Home() {
  return (
    <div style={{ width: "100vw", height: "100vh" }}>
        <ViewerComponent modelId={myModelId} />
    </div>
  );
}
TIP
This page will be updated as additional functions for interacting with iJewel Drive are introduced
Component Props (ViewerComponent)
The ViewerComponent accepts the following props to configure its behavior and appearance:
| Prop | Type | Optional/Required | Description |
|---|---|---|---|
project | Project | Optional | A full project configuration object. If provided, this takes precedence over modelId and modelName/parentId. You can use this to load local 3d files. See Viewer Class |
modelId | string | Optional | The unique File ID of a specific model in iJewel Drive. Used if project is not provided. This is the simplest way to load a single model. |
modelName | string | Optional | The exact filename of the model within a specific folder in iJewel Drive. Must be used together with parentId and token. Used if project and modelId are not provided. |
parentId | string | Optional | The unique ID of the parent folder containing the model specified by modelName. Must be used together with modelName and token. |
basename | string | Optional | The basename identifier for your iJewel Drive instance. Only change this if you are an enterprise client with a custom basename. |
token | string | Required (if using modelName + parentId) | An authentication token required only when loading a model using modelName and parentId. This token is used to authorize the API call to find the model. |
viewerOptions | ViewerOptions | Optional | An object containing options to customize the viewer's appearance and behavior (e.g., showCard, showLogo ). See Viewer Class documentation for details. |
onError | (err: Error) => void | Optional | A callback function that gets executed if an error occurs during model loading or viewer initialization. Receives the Error object as an argument. |
onLoad | (viewer: Viewer ) => void | Optional | A callback function executed when the iJewel Viewer helper class instance (which manages loading and wrapping WebGi) is successfully initialized or updated after loading a model. Receives the IjewelViewerClass instance. Note: This is distinct from onViewerReady. |
onViewerReady | (viewer: ViewerApp) => void | Optional | A callback function executed when the underlying WebGi ViewerApp instance is fully initialized and ready for interaction (e.g., scene manipulation, adding plugins). Receives the ViewerApp instance. This often fires shortly after onLoad. |
className | string | Optional | A standard React prop to apply a CSS class to the root div element rendered by the component. |
style | React.CSSProperties | Optional | A standard React prop to apply inline CSS styles to the root div element. Default styles ensure the viewer attempts to fill its container. |
To load a model, you must provide one of the following combinations:
- The
projectprop. - The
modelIdprop. - The
modelName,parentId, andtokenprops together.